


Party Tips
How to make a DIY soccer ball ice cream cake
Some call it soccer. Others call it football. However, we like to call it tasty, because we’re about to show you how to make a soccer ball cake out of a Carvel Happy Birthday Ice Cream Cake. You can even call it a football cake if you prefer.
Despite what you might think, this delicious, round cake doesn’t require a lot of hard work. So put away all those bowls and cake mix, and forget about cleaning up the messy cake batter aftermath, because this confectionery creation is easy to make—which is perfect for when life gets a bit busy.
Ready? Let’s get started!
Ingredients
Here’s what you’ll need to get started on making your soccer ball/football cake:
- 1 Carvel Happy Birthday Ice Cream Cake
Use our product locator to find where our cakes are sold - Fondant
- Powdered sugar
- Black food coloring
- Green icing
Supplies
- Soccer ball stencil
- Baking/icing spatula
- Paintbrush
- Piping bag
- Grass piping tip
- Cake stand (cake board also works)
Decorating the Cake
Before you get started, gather all the ingredients and supplies needed, except the ice cream cake. You’ll want to keep it in the freezer until you’re ready to decorate it.
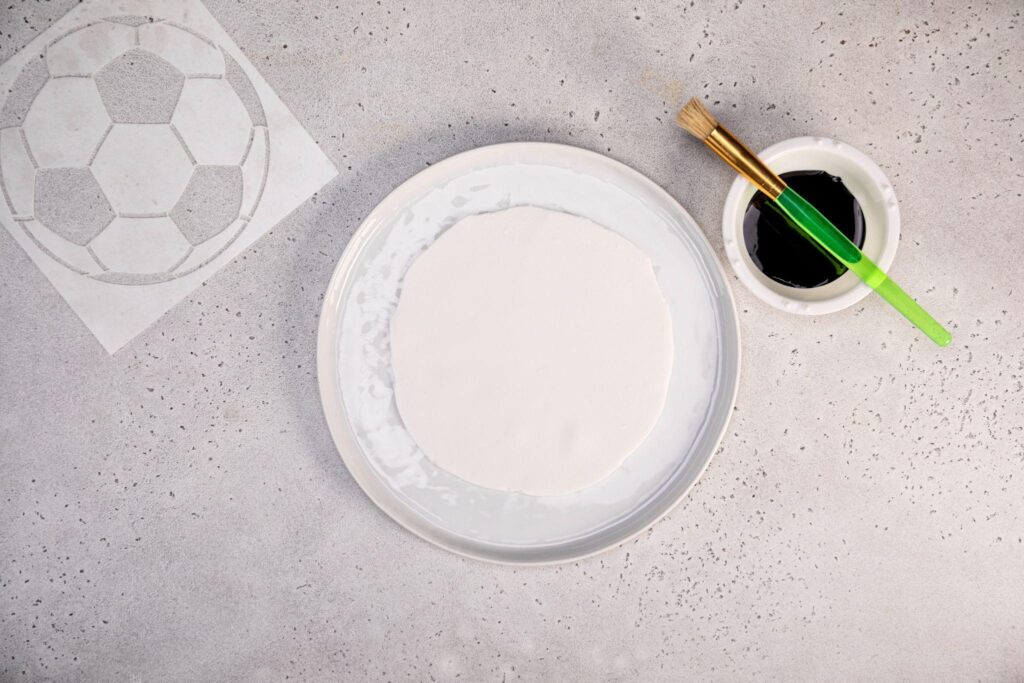
Step 1: Roll out fondant, and cut a circle in the shape of the ice cream cake. Set on a plate lined with powdered sugar.
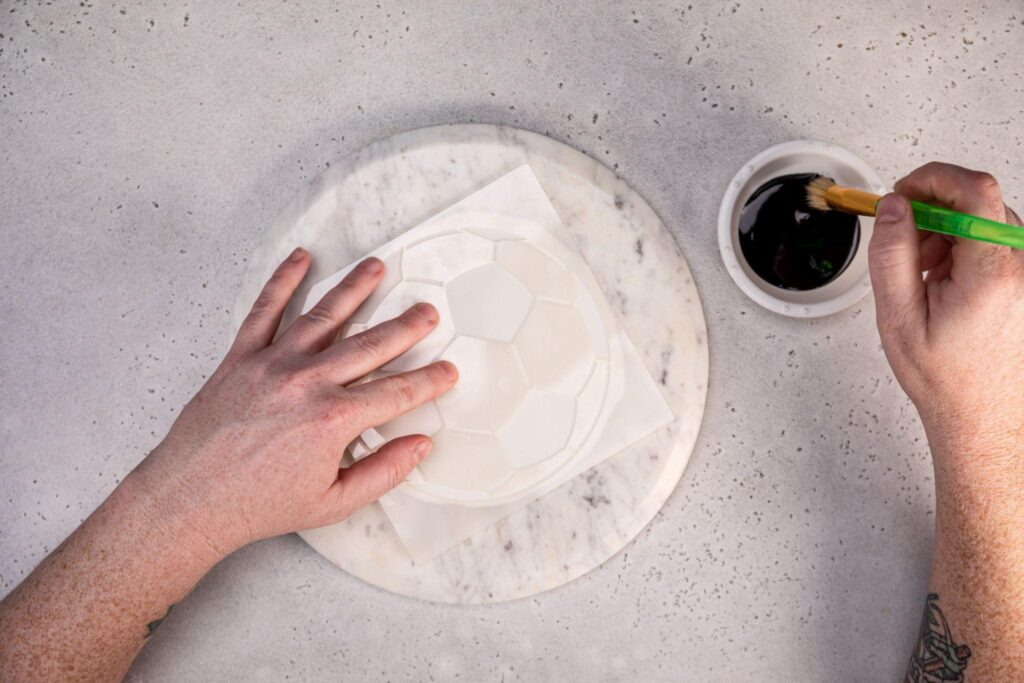
Step 2: Place the stencil on the fondant.
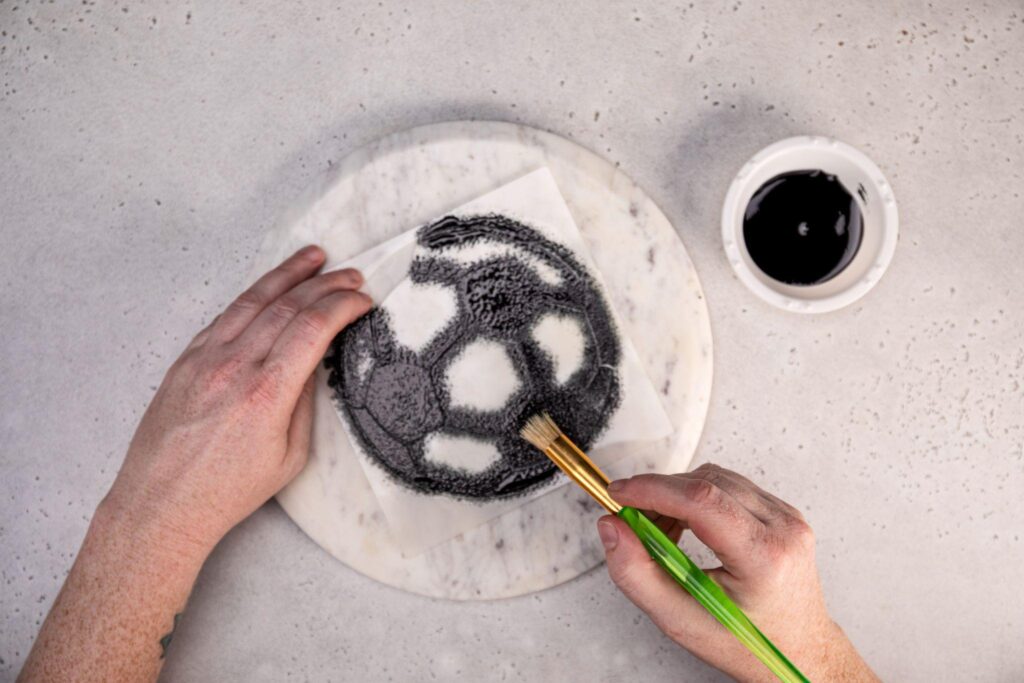
Step 3: Use a paintbrush and black food coloring to fill in the cut-out areas on the stencil.
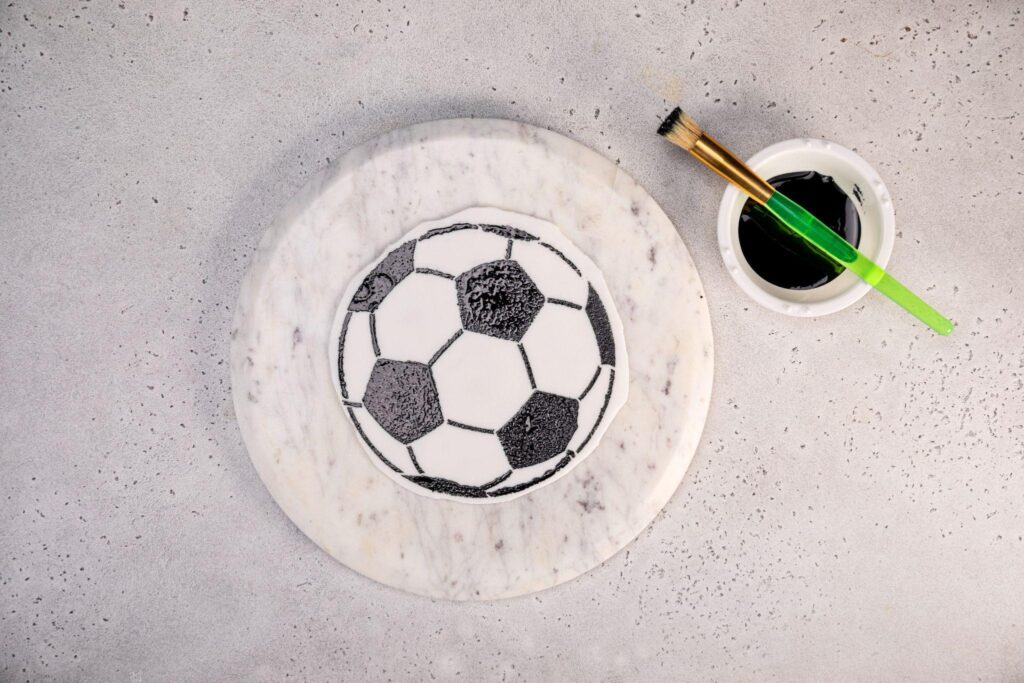
Step 4: Set the soccer ball fondant pattern to the side.
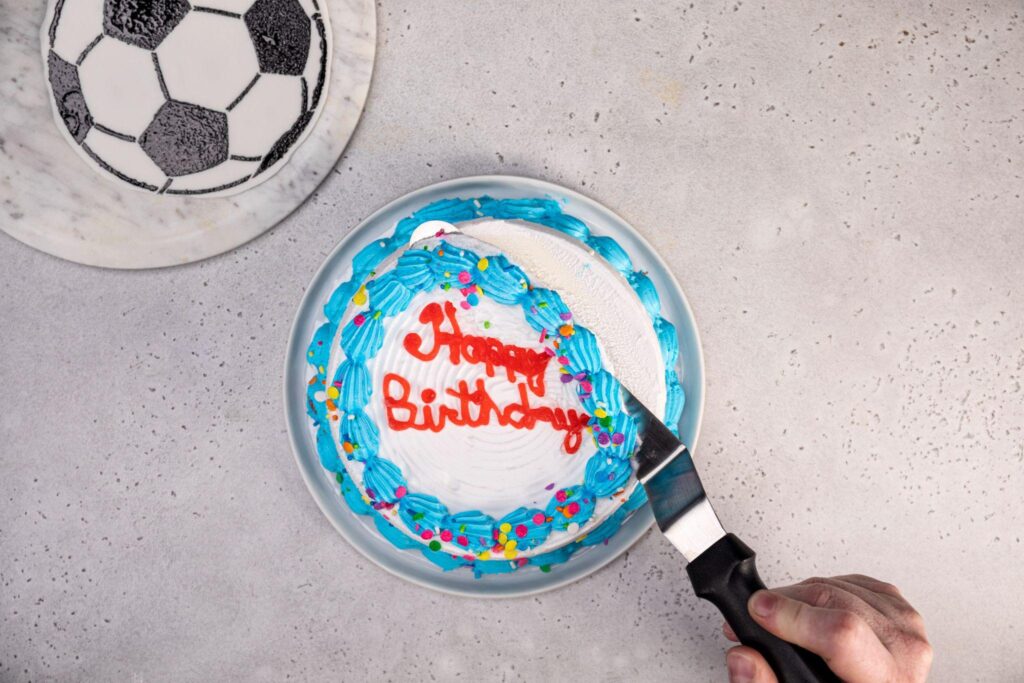
Step 5: Remove the Carvel Happy Birthday Ice Cream Cake from your freezer and set it on a plate or cake board. Then, using a knife, remove the icing from the ice cream cake, doing your best to make sure only white icing remains.
Step 6: Remove the icing from the sides as well.
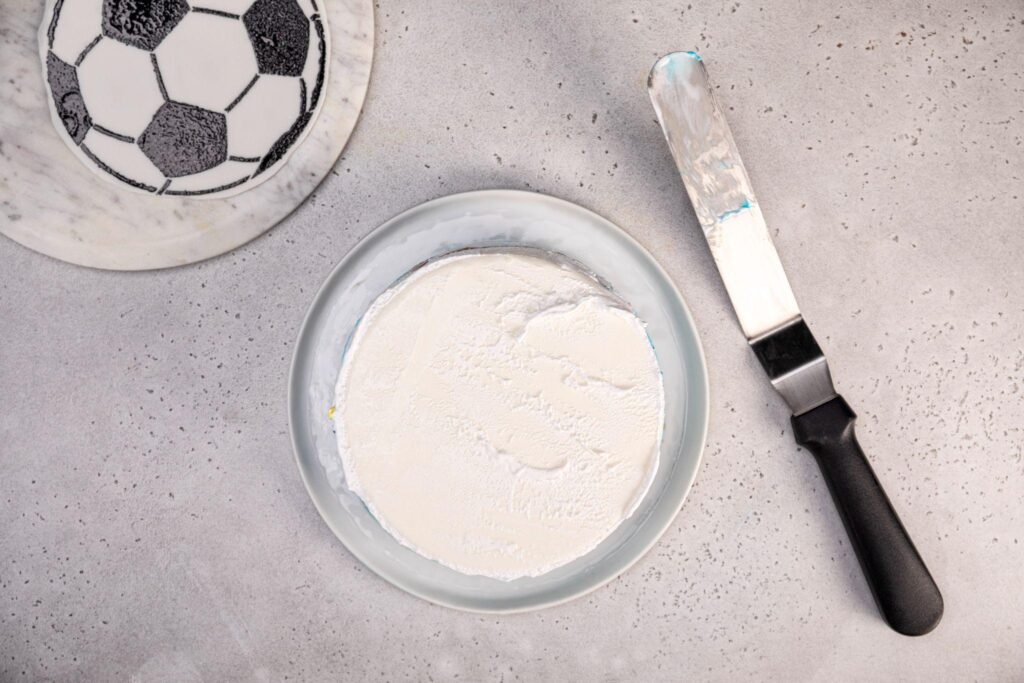
Step 7: Smooth out the remaining white icing.
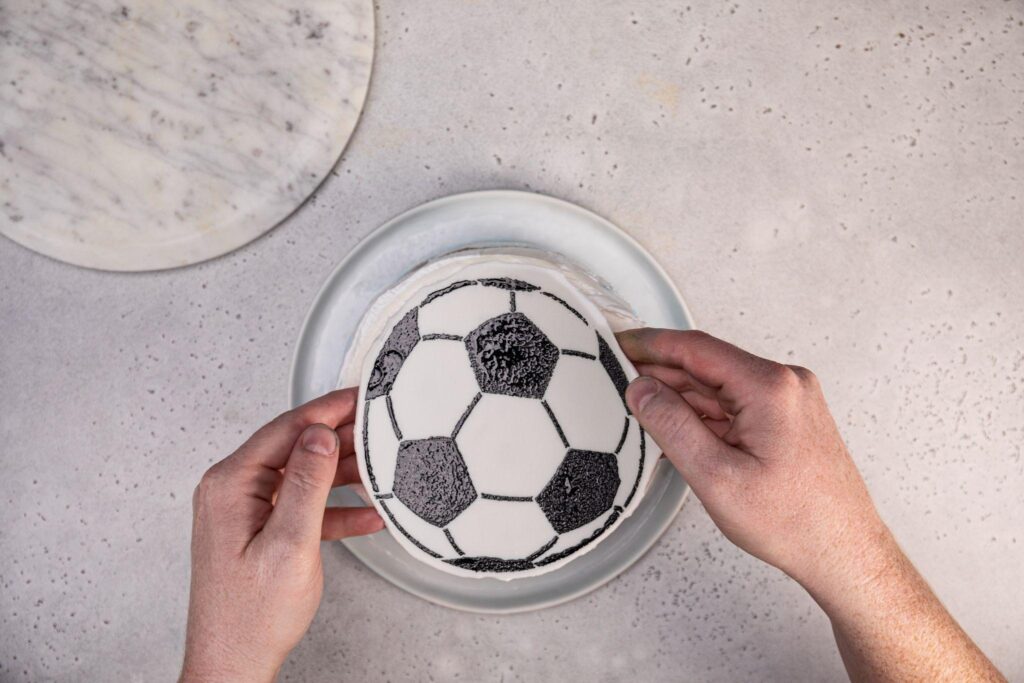
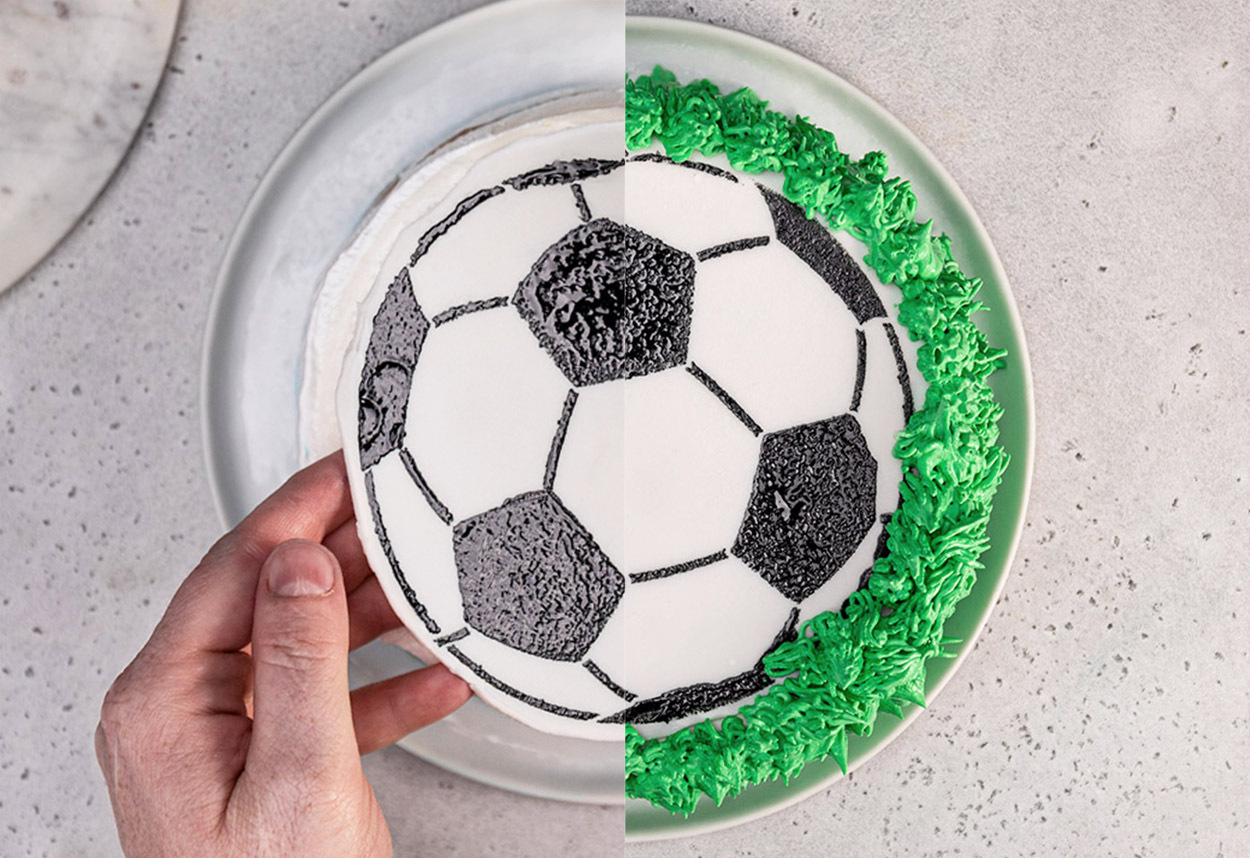
Step 8: Place the soccer ball fondant pattern on top of the ice cream cake.
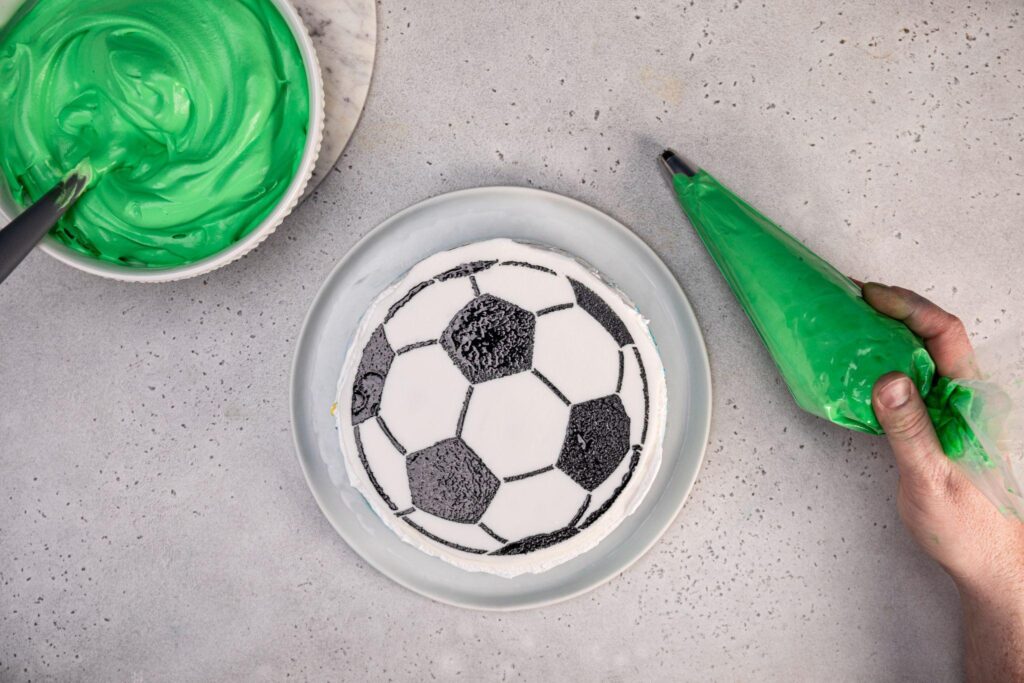
Step 9: Add green icing to a piping bag with a grass tip.
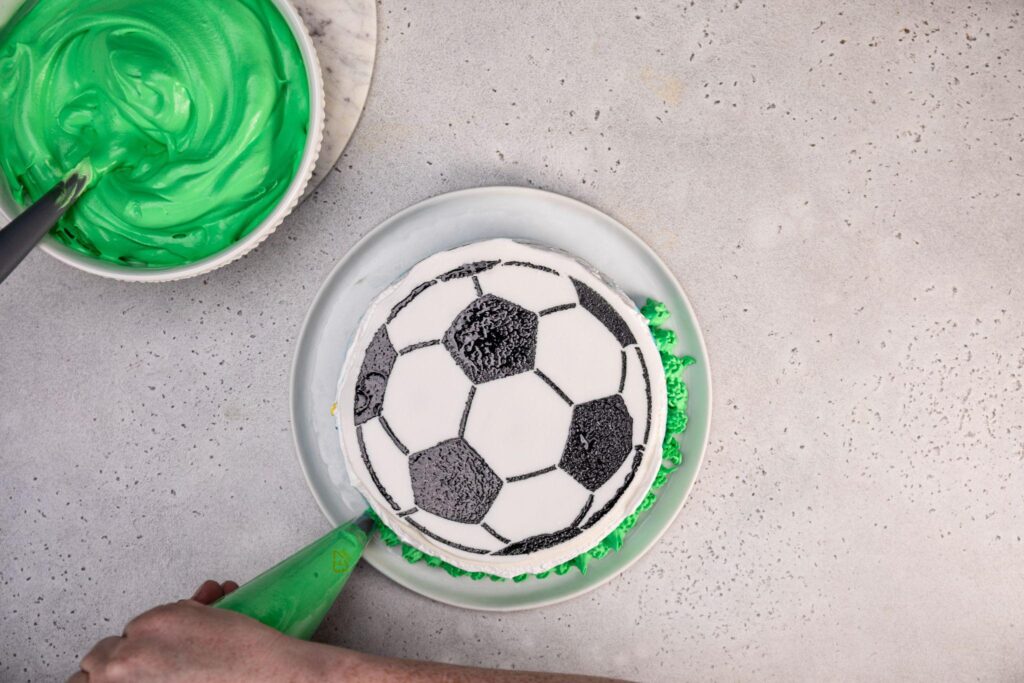
Step 10: Add the “grass” icing to the sides of the cake, starting at the bottom and working your way up.

Step 11: Finish by adding a ring of icing where the fondant and cake meet to hide the edges.
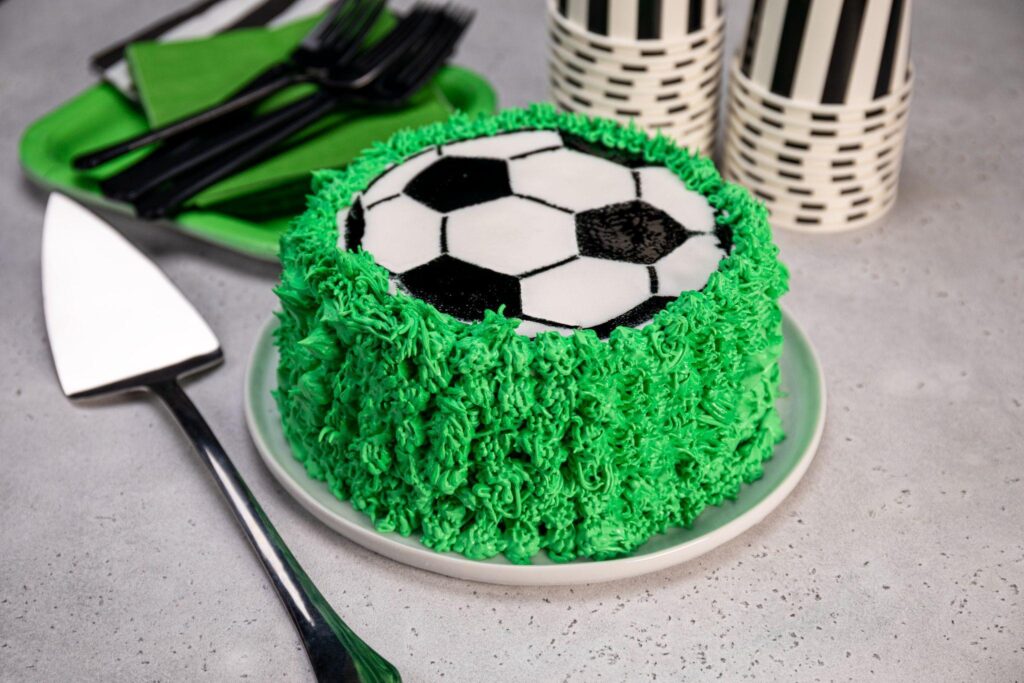
Step 12: Marvel at your handiwork before placing this cool cake (pun intended) into the freezer until serving time.
Whether you’re making this soccer/football cake for a birthday party, Father’s Day, game day, or any of life’s special occasions, it’s sure to please any crowd. However you celebrate, take a picture and tag us on Instagram. We can’t wait to see what you create for your friends and family.

Not sure where to shop? Find ice cream cakes online or at a grocery store near you.
Use our product locator